
Glass Kitchen Splashback Installation in Dubai: Measurement, Colour, and Fitting Guide
Plan a glass kitchen splashback in Dubai with practical guidance on measurement, toughened glass, colour, socket cut-outs, heat zones, installation, replacement, and quotation details.
Quick answer
A made-to-measure glass kitchen splashback gives Dubai villas and apartments a smooth, easy-clean wall finish with fewer joints than tiles. The best result depends on surveying after cabinets and worktops are fixed, selecting glass and backing suitable for the kitchen, coordinating every socket and appliance cut-out, and approving the colour under the room's actual lighting.
Glass World supplies custom ceramic back-painted glass and provides glass fabrication and installation across Dubai and the UAE. A site survey should confirm the finished dimensions, wall condition, access, edge details, and safe relationship to the hob before production begins.
Why choose a glass splashback?
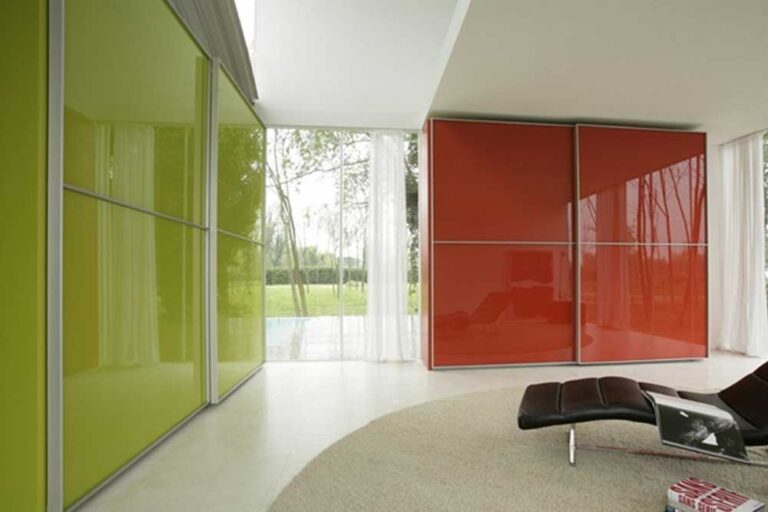
Glass creates a continuous reflective surface that can make a compact kitchen feel brighter. With no grout grid across the main field, grease and cooking marks are easier to wipe away. The colour can be coordinated with cabinetry, worktops, flooring, or a brand palette in show kitchens and commercial interiors.
It is still a fabricated architectural finish, not a decorative sheet that should be trimmed on site. Accurate dimensions, processed edges, holes, notches, backing, sealants, and installation technique all affect its appearance and service life.
- Full-height panels between the worktop and upper cabinets
- Feature panels behind preparation and sink areas
- Colour-backed wall panels for pantry or utility spaces
- Coordinated panels for villas, apartments, showrooms, and staff kitchens
Measure only when the kitchen is ready
Final measurement should normally take place after the base units, worktop, upstands, wall cabinets, extractor, and finished wall levels are established. Walls and worktops are rarely perfectly straight, so measuring only the longest width and height may leave uneven gaps or prevent the panel from fitting between fixed surfaces.
The survey records each corner, return, exposed edge, socket, switch, pipe, fixing, and appliance clearance. Toughened glass cannot be cut, drilled, or reshaped after heat treatment. Every opening must therefore be correctly sized and positioned in the approved fabrication drawing before manufacture.
Choose glass for safety and heat exposure
The glass specification should reflect panel size, support, cut-outs, edge exposure, and the heat produced by nearby appliances. Toughened safety glass is commonly considered because it is stronger than ordinary annealed glass and has a safer breakage pattern, but the complete installation and appliance clearances must still be assessed.
Do not assume that any painted glass can sit directly behind any hob. Gas burners, powerful cooking equipment, hot cookware, and appliance exhausts create different heat conditions. Follow the appliance manufacturer's required non-combustible zones and clearances, and confirm the proposed glass and backing system for the exact location.
Colour, finish, and sample approval
A colour viewed on a phone or paper card can look different through glass. Glass tone, backing method, room lighting, daylight, reflections, cabinet colours, and worktop material all influence the finished appearance. Approve a physical sample where colour accuracy is important, ideally viewing it vertically in the kitchen during daytime and evening lighting.
Light colours can reveal wall shadows, adhesive patterns, or inconsistent backing if the system is not planned properly. Dark and highly reflective finishes show fingerprints and water marks more readily. The right choice balances the design intent with cleaning expectations and the lighting conditions of the room.
Plan sockets, joints, and exposed edges
Socket and switch plates should sit neatly over correctly fabricated openings without loading the glass. Confirm whether electrical accessories will be isolated and refitted by the appropriate trade, and allow for safe access during installation. Closely grouped cut-outs, narrow glass bridges, and notches near corners require special attention during design and handling.
Long walls may need more than one panel because of stock sizes, lift access, corridors, handling weight, or the number of cut-outs. Place joints deliberately at cabinet lines or other visually quiet positions. Specify polished exposed edges where the glass terminates openly, while concealed edges still need suitable fabrication quality and protection.
Installation and wall preparation
The substrate should be stable, reasonably flat, clean, dry, and able to support the specified fixing system. Loose paint, projecting screws, uneven tile remnants, damp areas, and large hollows should be corrected before glass arrives. Trying to force a rigid panel against an irregular wall can create stress or an unacceptable finish.
Installers dry-check the panel, protect the worktop and cabinets, use compatible setting materials, maintain designed clearances, and seal relevant perimeters neatly. Adhesives and sealants must be compatible with the backing and should not show through or attack the finish. The splashback should not be used until the system has cured as specified.
Replacing a damaged or dated splashback
Replacement begins with identifying how the existing panel was fixed and protecting cabinets, appliances, floors, and worktops during removal. Bonded glass may break as it is released, so the area should be isolated and handled as controlled glass-removal work rather than ordinary decoration.
A replacement survey should not simply copy the old panel. Check whether cabinets or worktops have moved, socket plates have changed, seals have failed, or the wall needs repair. Glass World also provides glass replacement when a cracked or damaged panel needs a newly fabricated match.
Cost factors and what to send for a quote
Price depends on the total area, glass specification, colour or backing, panel count, edge polishing, cut-outs, templates, delivery access, removal of existing material, wall readiness, installation conditions, and working location. A small panel with several close socket openings can require more processing than a larger plain rectangle.
For a useful initial quotation, send straight-on and wide kitchen photos, approximate dimensions, the Dubai community or UAE location, desired colour, hob type, number of sockets and switches, exposed edges, access details, and whether existing tiles or glass must be removed. Final fabrication dimensions should follow a site survey once the surrounding kitchen finishes are fixed.
Plan your Dubai kitchen splashback with Glass World
Glass World can survey, detail, fabricate, deliver, and install custom glass splashbacks for residential and commercial kitchens. Early coordination with the kitchen contractor, electrician, appliance supplier, and interior designer helps lock down cut-outs, clearances, colours, wall preparation, and the installation sequence before glass is processed.
Share your kitchen drawings or photographs, worktop and cabinet status, colour reference, appliance information, access conditions, and target completion date. The team can then recommend a practical panel arrangement and prepare the project for accurate final measurement.
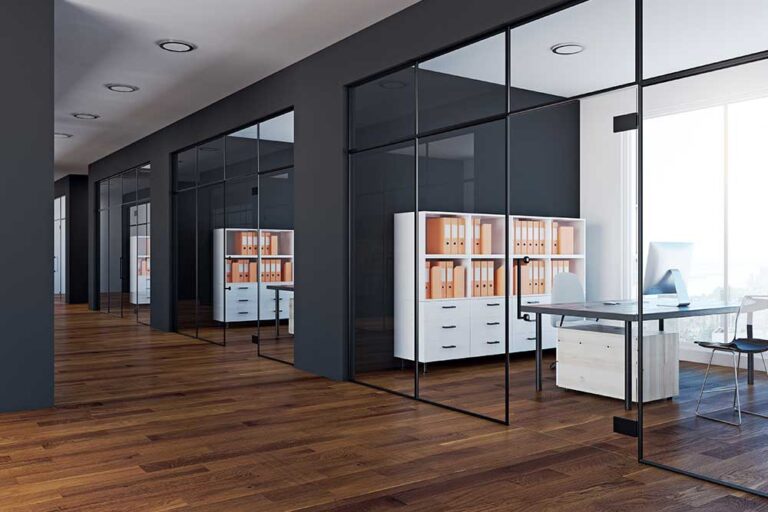
Office Glass Partition Relocation in Dubai: Fit-Out Reconfiguration Guide
Plan office glass partition relocation in Dubai with guidance on dismantling, panel reuse, new layouts, doors, acoustics, approvals, programme, safety, and fit-out coordination.
Read article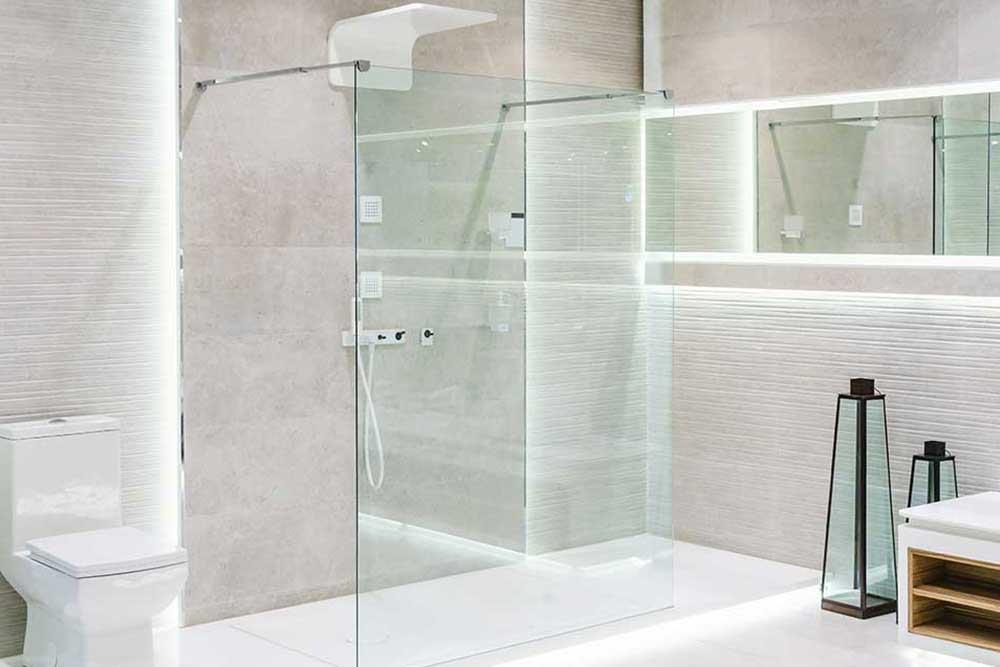
Shower Door Hinge Repair in Dubai: Sagging Glass, Alignment, and Replacement Guide
Plan shower door hinge repair in Dubai with practical guidance on sagging glass, loose hardware, scraping, leaks, corrosion, alignment, safety checks, and replacement options.
Read article
Skylight Glass Replacement in Dubai: Roof Glazing and Leak Planning Guide
Plan skylight glass replacement in Dubai with practical guidance on cracks, leaks, safety glass, insulated units, seals, access, heat control, measurements, and project coordination.
Read article